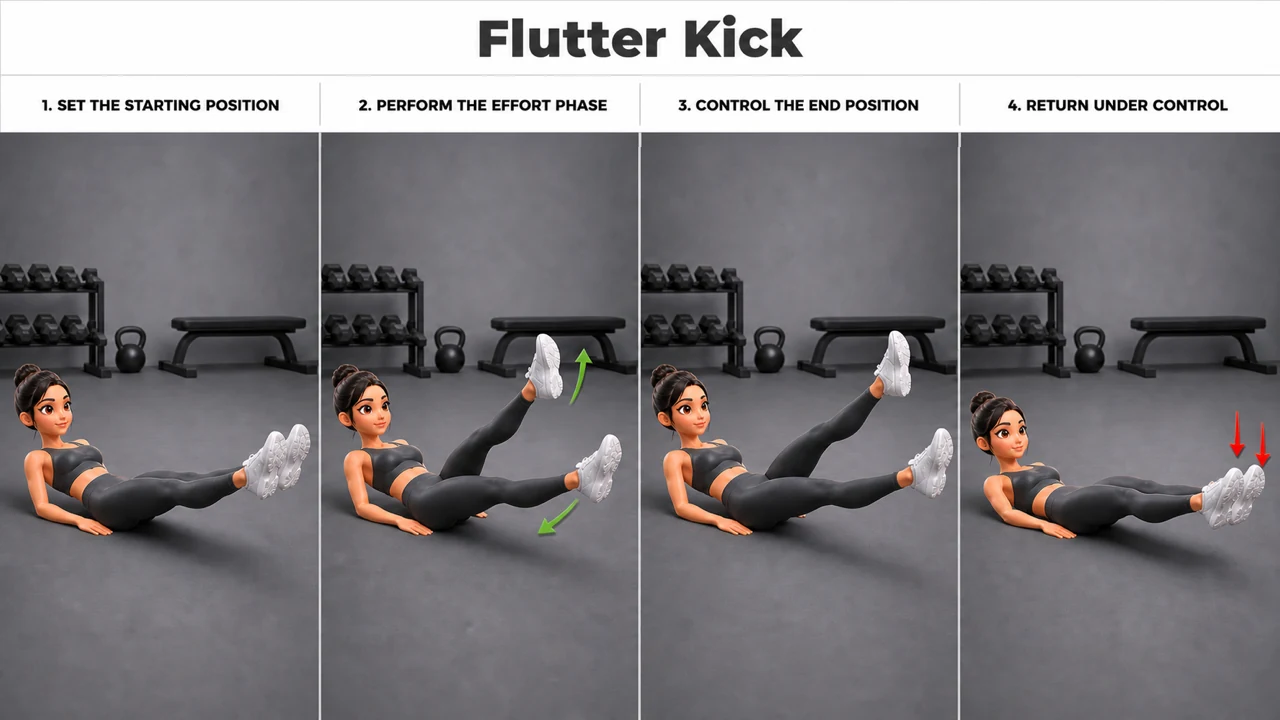
Flutter Kick exercise image and instructions
See how to do Flutter Kick in a clear 4-step exercise image with concise instructions. Focus: lower abs.
Read the detailed Flutter Kick tutorial →


See how to do Flutter Kick in a clear 4-step exercise image with concise instructions. Focus: lower abs.
Short instructions
Follow the numbered positions in the image and use each instruction as its matching cue.
Lie on the back for Flutter Kick, press the lower ribs and pelvis into a controlled position, and extend the legs only as far as the lower back can remain stable.
Breathing: Breathe steadily; do not hold your breath.
Keep the trunk braced and alternate small straight-leg kicks from the hips while the lower back remains supported.
Breathing: Breathe steadily; do not hold your breath.
Control the strongest abdominal position without holding the breath or allowing the lower back to arch away from support.
Breathing: Breathe steadily; do not hold your breath.
Lower the torso and legs, or stop the alternating kicks, under control until the exact supported starting position returns.
Breathing: Breathe steadily; do not hold your breath.
Keep exploring
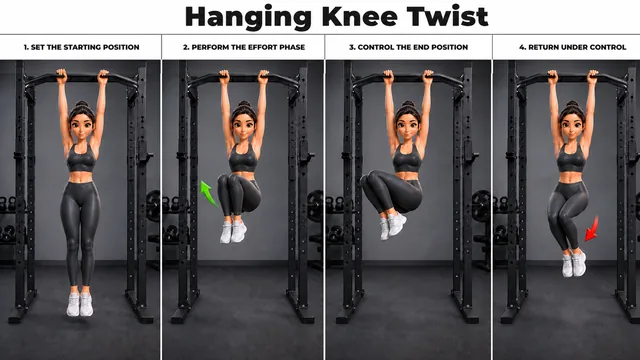
See how to do Hanging Knee Twist in a clear 4-step exercise image with concise instructions. Focus: obliques using pull-up station.
Focus: Obliques
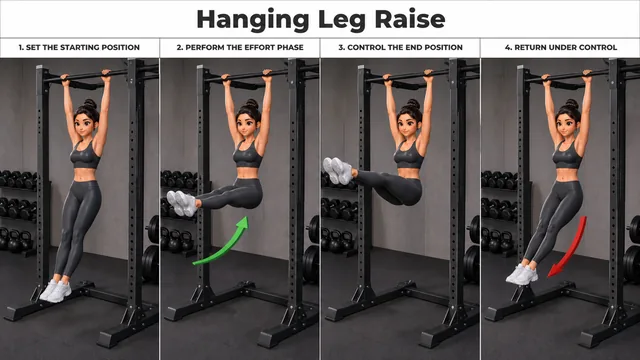
See how to do Hanging Leg Raise in a clear 4-step exercise image with concise instructions. Focus: lower abs using pull-up station.
Focus: Lower abs
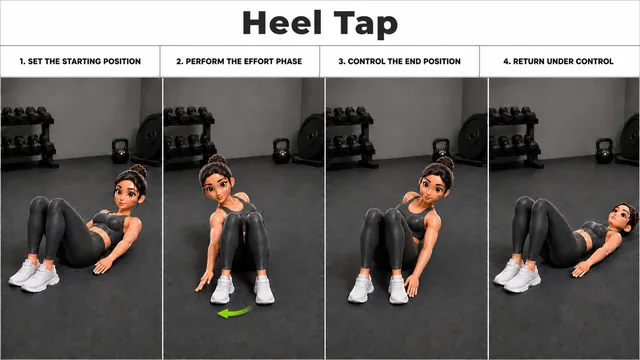
See how to do Heel Tap in a clear 4-step exercise image with concise instructions. Focus: obliques.
Focus: Obliques
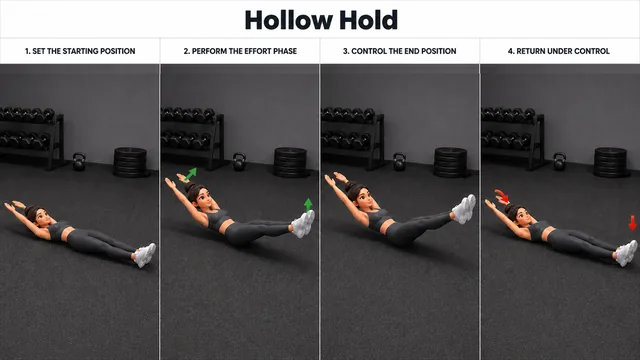
See how to do Hollow Hold in a clear 4-step exercise image with concise instructions. Focus: transverse abdominis.
Focus: Transverse abdominis
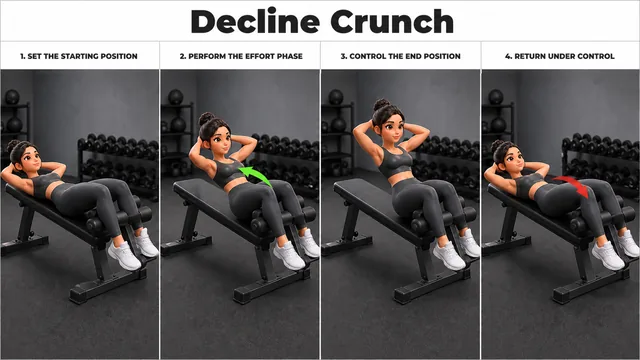
See how to do Decline Crunch in a clear 4-step exercise image with concise instructions. Focus: upper abs using decline bench.
Focus: Upper abs
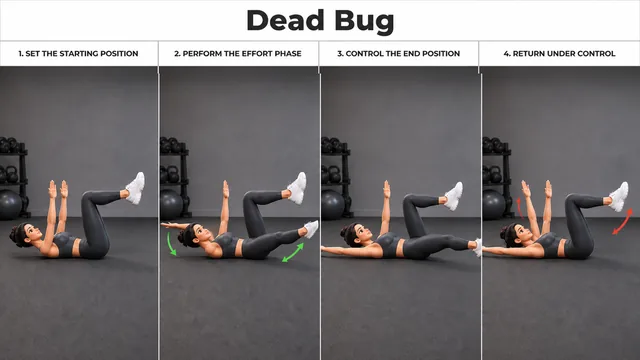
See how to do Dead Bug in a clear 4-step exercise image with concise instructions. Focus: transverse abdominis.
Focus: Transverse abdominis