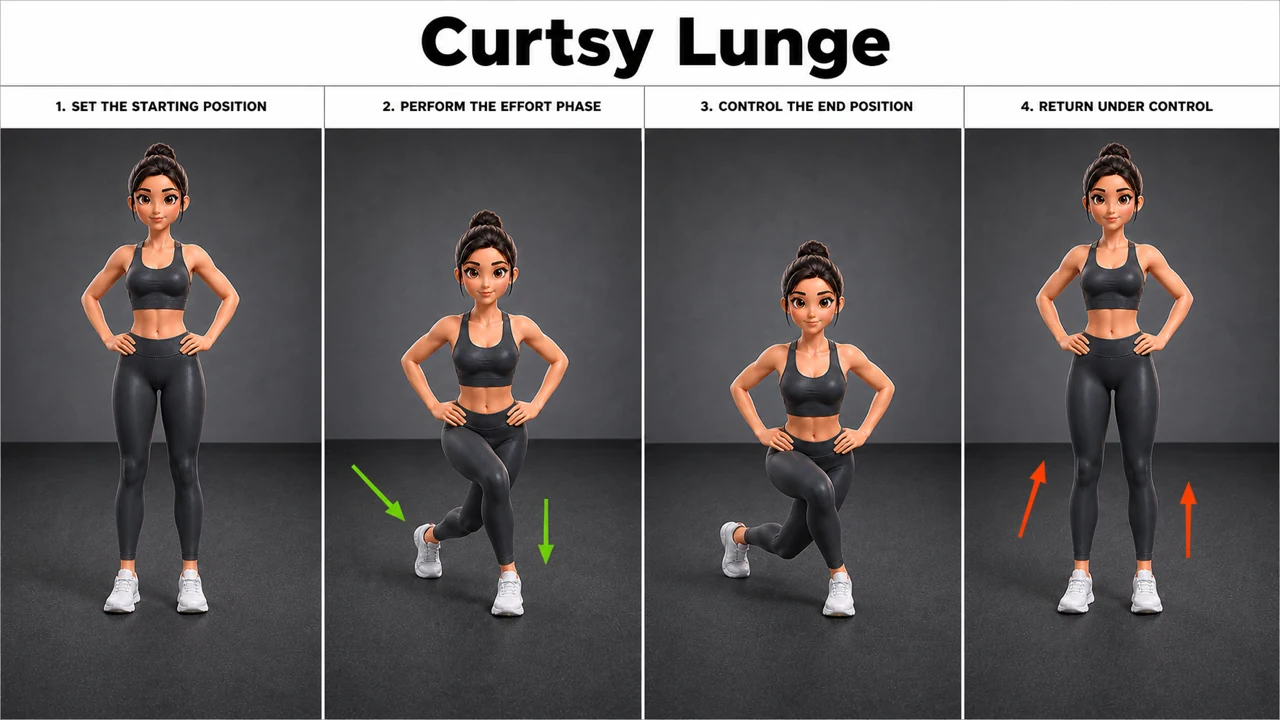
Curtsy Lunge exercise image and instructions
See how to do Curtsy Lunge in a clear 4-step exercise image with concise instructions. Focus: glute medius.
Read the detailed Curtsy Lunge tutorial →
See how to do Curtsy Lunge in a clear 4-step exercise image with concise instructions. Focus: glute medius.
Short instructions
Follow the numbered positions in the image and use each instruction as its matching cue.
Set up for Curtsy Lunge with bodyweight, establish the required stance, brace the trunk, and align the knees with the toes.
Breathing: Breathe steadily; do not hold your breath.
Inhale and descend by bending the hips and knees under control, keeping the whole foot or working foot planted and the spine neutral.
Breathing: Inhale through the controlled return.
Reach the declared depth with the knee tracking over the foot, the pelvis controlled, and the load balanced over the base of support.
Breathing: Breathe steadily; do not hold your breath.
Exhale and press through the working foot to extend the hip and knee, returning to a balanced finish without the knee collapsing inward.
Breathing: Exhale through the effort.
Keep exploring
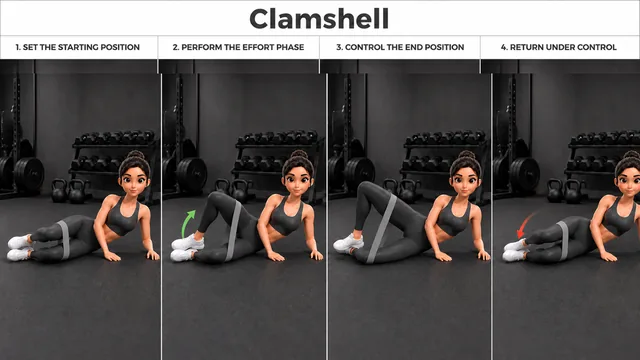
See how to do Clamshell in a clear 4-step exercise image with concise instructions. Focus: glute minimus using resistance band.
Focus: Glute minimus
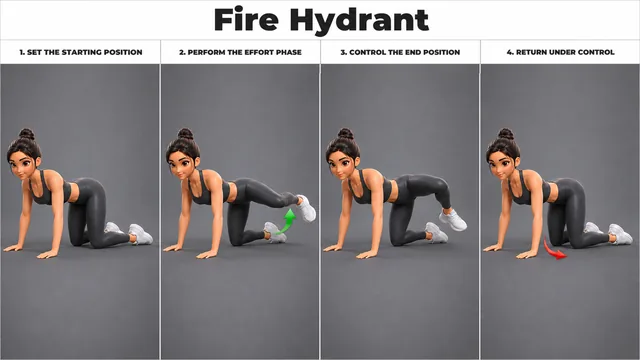
See how to do Fire Hydrant in a clear 4-step exercise image with concise instructions. Focus: glute minimus.
Focus: Glute minimus
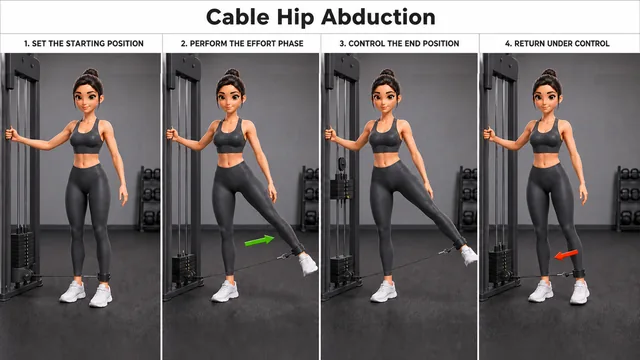
See how to do Cable Hip Abduction in a clear 4-step exercise image with concise instructions. Focus: glute medius using cable station.
Focus: Glute medius
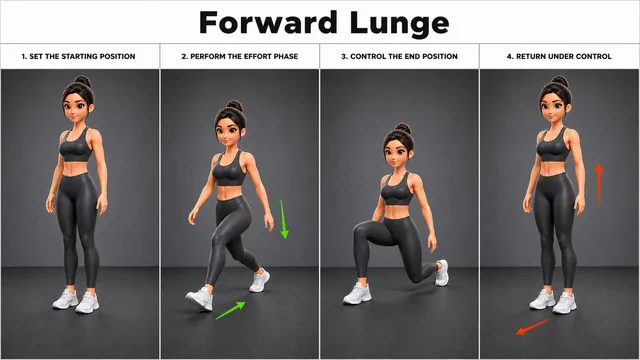
See how to do Forward Lunge in a clear 4-step exercise image with concise instructions. Focus: glute maximus and vastus medialis.
Focus: Glute maximus, Vastus medialis
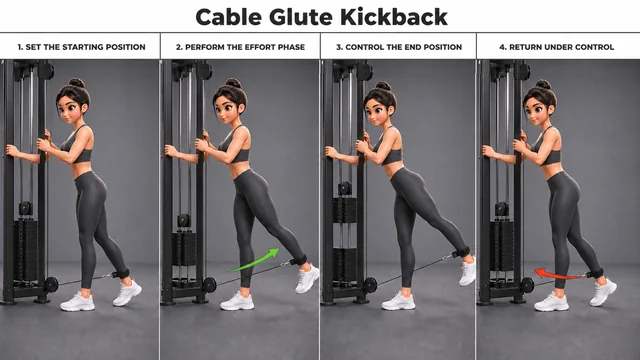
See how to do Cable Glute Kickback in a clear 4-step exercise image with concise instructions. Focus: glute maximus using cable station.
Focus: Glute maximus
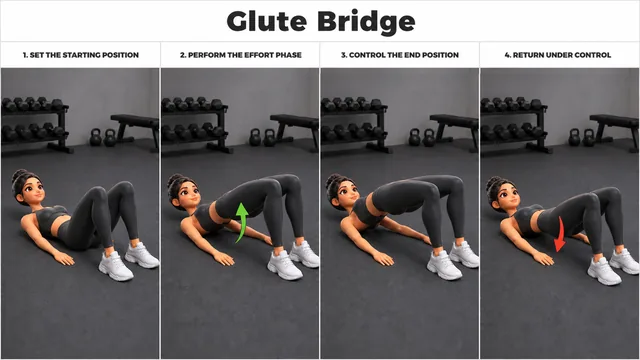
See how to do Glute Bridge in a clear 4-step exercise image with concise instructions. Focus: glute maximus.
Focus: Glute maximus