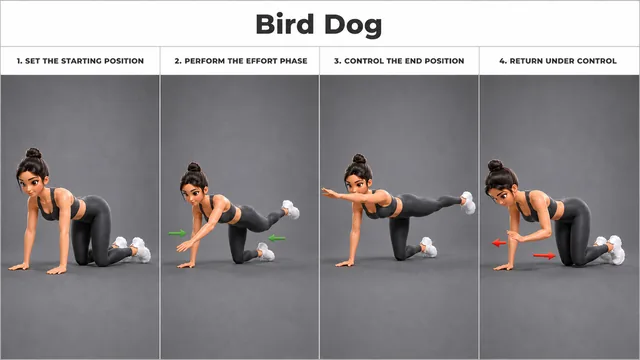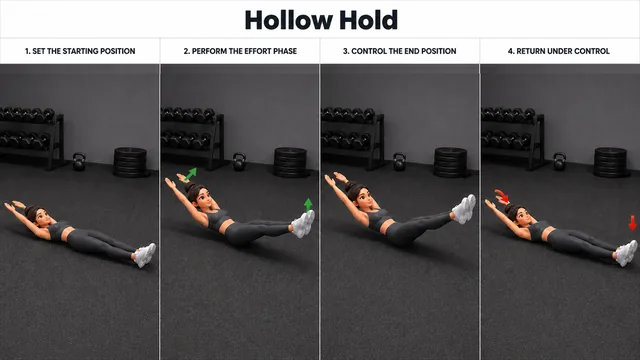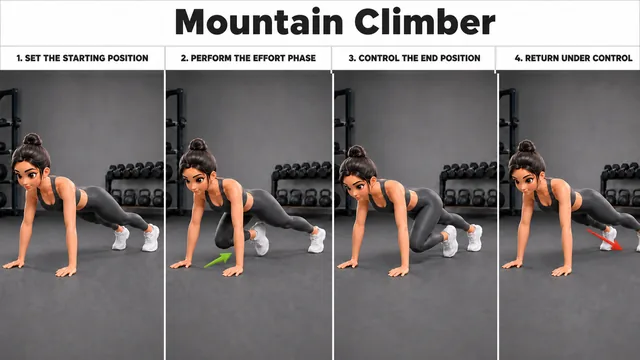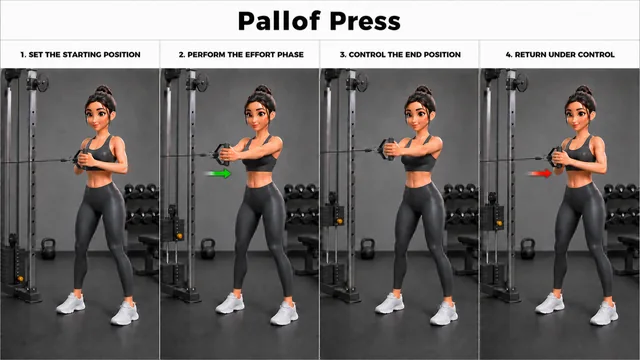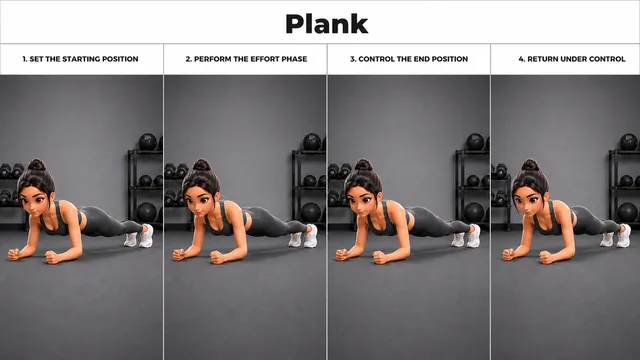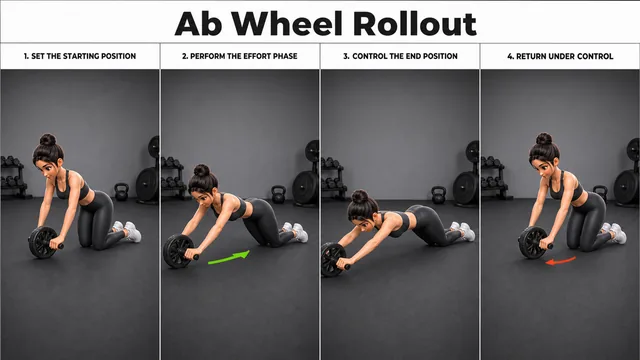
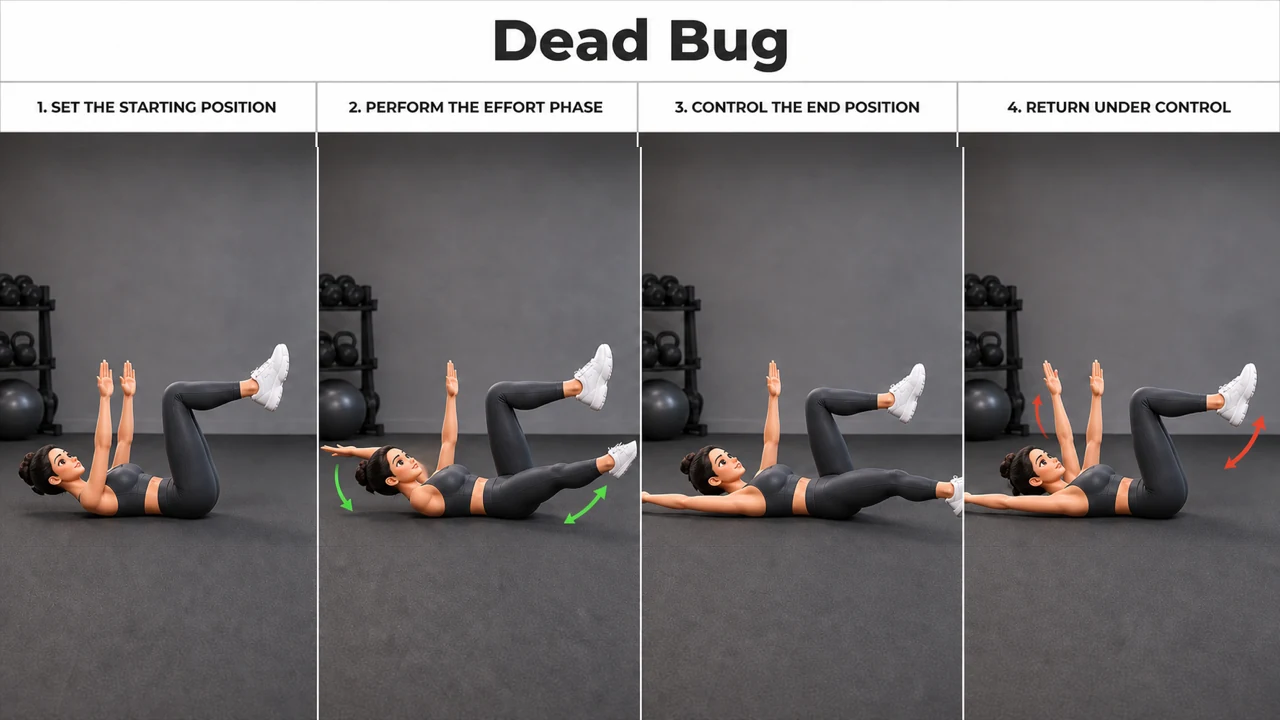
The goal with Dead Bug is simple—make every repetition look repeatable from the same stable start. The exercise mainly trains transverse abdominis, while hip flexors and core stabilizers help support and control the movement. You will use your bodyweight while working from supine on the floor or support.
What makes a good Dead Bug repetition?
Keep the ribs and pelvis organized so the trunk—not momentum—controls the rep. The movement has a clear, scalable pattern. Start light, learn the positions in order, and progress only while every repetition remains controlled.
Muscles worked
Primary
Transverse abdominis
These muscles should carry most of the intended work when the setup and movement path stay consistent.
Supporting
Hip flexors and Core stabilizers
These muscles assist the movement or help keep the rest of your position steady.
Set up before you move
Start from supine on the floor or support. Use the prescribed grip: bodyweight or no external grip. No external equipment is required.
Step-by-step tutorial
How to do Dead Bug
- 1
Set the starting position
Set the Dead Bug base with the ribs stacked over the pelvis, spine neutral, and support joints directly under the body where applicable.
Breathing: Breathe steadily; do not hold your breath.
- 2
Perform the effort phase
Brace as if resisting movement and perform the limb reach or hold while preventing the lower back from arching and the pelvis from rotating.
Breathing: Exhale through the effort.
- 3
Control the end position
Maintain smooth breathing and keep the head, ribs, pelvis, and supporting limbs aligned for the prescribed interval.
Breathing: Breathe steadily; do not hold your breath.
- 4
Return under control
Return any extended limbs slowly, lower out of the hold with control, and reset the neutral spine before repeating.
Breathing: Inhale as you return to tabletop, exhale through the opposite reach, then inhale back to tabletop.
Common mistakes to avoid
Starting before the setup is stable
Do not rush the first position. Set the Dead Bug base with the ribs stacked over the pelvis, spine neutral, and support joints directly under the body where applicable. Make that setup feel repeatable before adding speed or resistance.
Letting the working position drift
Keep your supine on the floor or support setup consistent through the rep and maintain the bodyweight or no external grip. If another part of the body has to swing or twist, reduce the load or range.
Rushing the return
The return is part of the exercise, not a pause between efforts. Return any extended limbs slowly, lower out of the hold with control, and reset the neutral spine before repeating.
Forcing a range you cannot control
Use the Dead Bug setup, maintain controlled joint alignment, and stop if the movement causes pain.
Sets, reps, and rest
Start with 2–4 sets of 10–15 smooth repetitions. Rest 45–90 seconds between sets. Use enough resistance to feel the target muscles without shortening the range or borrowing momentum from the rest of your body.
Treat this as a starting framework. Your load and volume should match your current technique, recovery, and training plan.
Dead Bug questions
Is Dead Bug suitable for beginners?
Dead Bug is classified as a beginner-level movement in this guide. The movement has a clear, scalable pattern. Start light, learn the positions in order, and progress only while every repetition remains controlled.
What muscles does Dead Bug work?
Dead Bug primarily works transverse abdominis, with hip flexors and core stabilizers assisting or stabilizing the movement.
What equipment do I need for Dead Bug?
Dead Bug is a bodyweight exercise and does not require external equipment.