 Full Body
Beginner
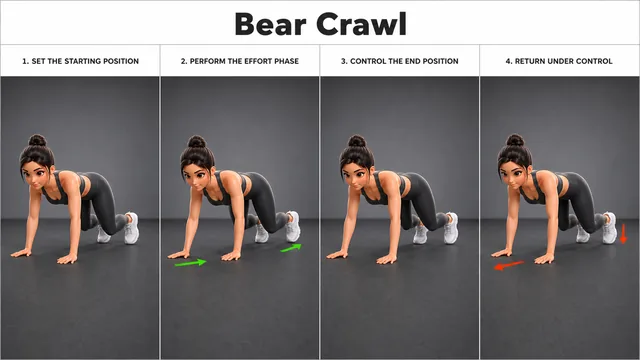
Bear Crawl: form and technique
Learn how to do Bear Crawl with 4 clear steps, breathing cues, muscles worked, beginner difficulty, and practical form tips.
Works Full body
Clear setup, honest difficulty levels, step-by-step form, breathing, common mistakes, and programming ideas—written to help with your next real workout.
Exercise tutorial library
41 tutorials
Full BodyLearn how to do Bear Crawl with 4 clear steps, breathing cues, muscles worked, beginner difficulty, and practical form tips.
Works Full body
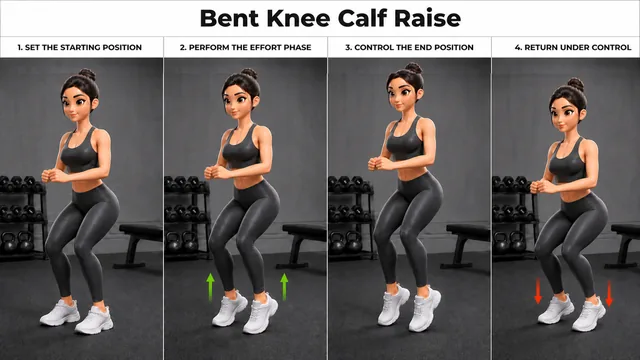 Calves
Learn how to do Bent Knee Calf Raise with 4 clear steps, breathing cues, muscles worked, beginner difficulty, and practical form tips.
Works Soleus
 Abs
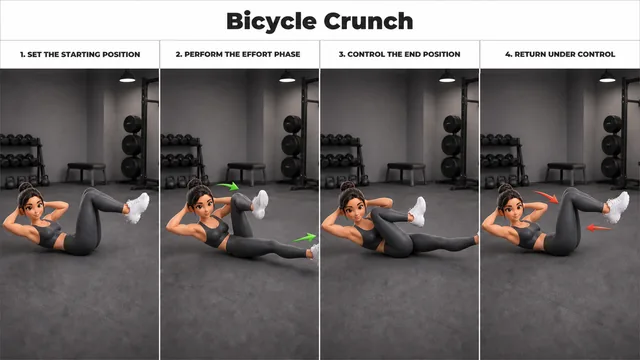
AbsLearn how to do Bicycle Crunch with 4 clear steps, breathing cues, muscles worked, beginner difficulty, and practical form tips.
Works Obliques
 Abs
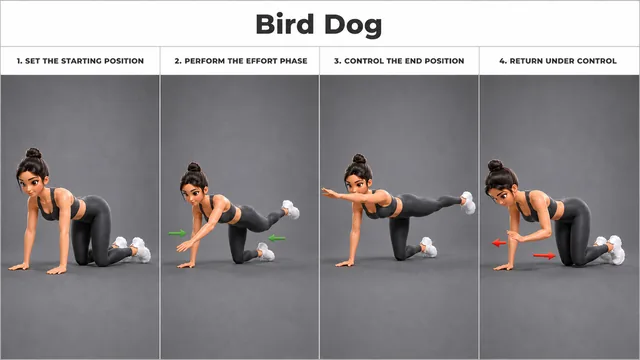
AbsLearn how to do Bird Dog with 4 clear steps, breathing cues, muscles worked, beginner difficulty, and practical form tips.
Works Transverse abdominis
 Calves
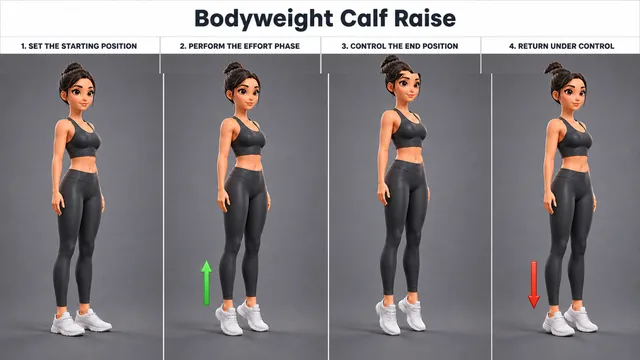
Learn how to do Bodyweight Calf Raise with 4 clear steps, breathing cues, muscles worked, beginner difficulty, and practical form tips.
Works Gastrocnemius and Soleus
 Quadriceps
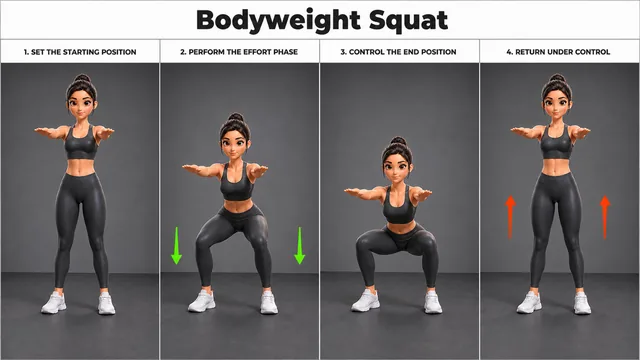
Learn how to do Bodyweight Squat with 4 clear steps, breathing cues, muscles worked, intermediate difficulty, and practical form tips.
Works Rectus femoris, Vastus lateralis, and Vastus medialis
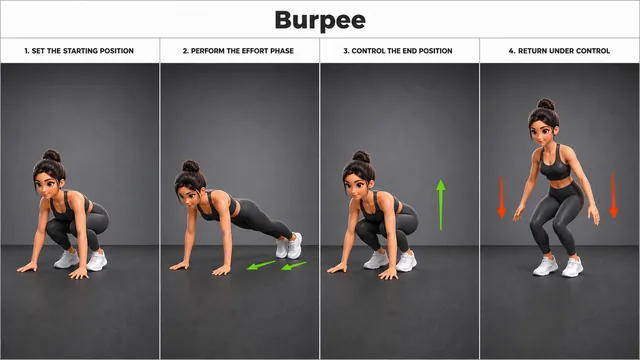 Full Body
Learn how to do Burpee with 5 clear steps, breathing cues, muscles worked, intermediate difficulty, and practical form tips.
Works Full body
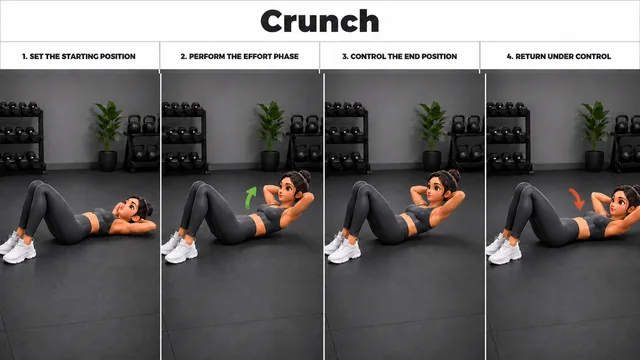 Abs
AbsLearn how to do Crunch with 4 clear steps, breathing cues, muscles worked, beginner difficulty, and practical form tips.
Works Upper abs
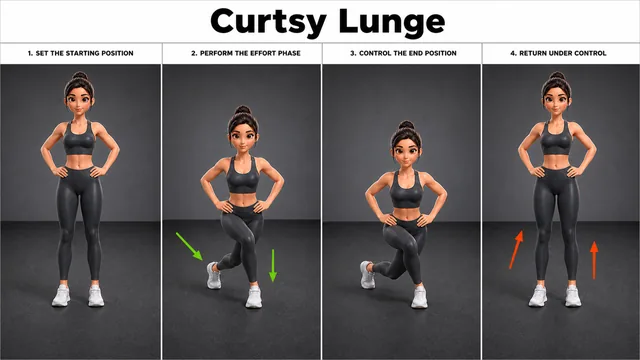 Glutes
Learn how to do Curtsy Lunge with 4 clear steps, breathing cues, muscles worked, intermediate difficulty, and practical form tips.
Works Glute medius
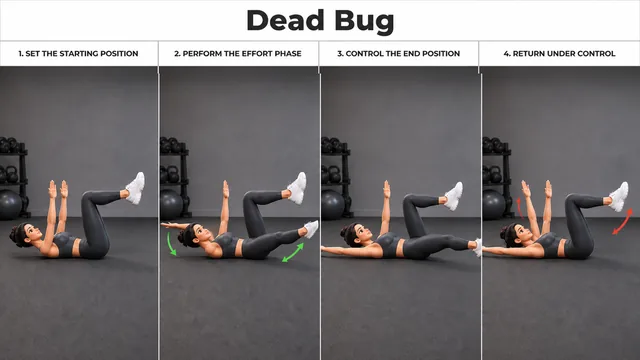 Abs
AbsLearn how to do Dead Bug with 4 clear steps, breathing cues, muscles worked, beginner difficulty, and practical form tips.
Works Transverse abdominis
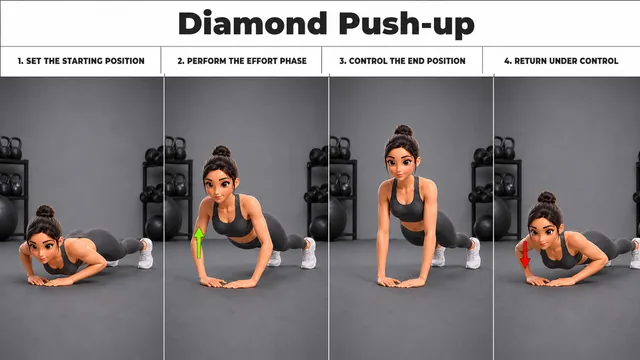 Triceps
Learn how to do Diamond Push-up with 4 clear steps, breathing cues, muscles worked, beginner difficulty, and practical form tips.
Works Triceps medial head
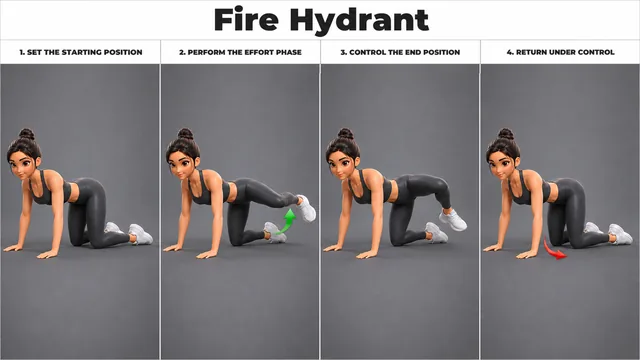 Glutes
Learn how to do Fire Hydrant with 4 clear steps, breathing cues, muscles worked, beginner difficulty, and practical form tips.
Works Glute minimus
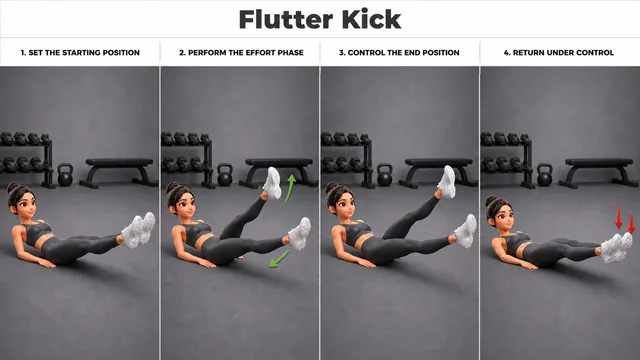 Abs
AbsLearn how to do Flutter Kick with 4 clear steps, breathing cues, muscles worked, beginner difficulty, and practical form tips.
Works Lower abs
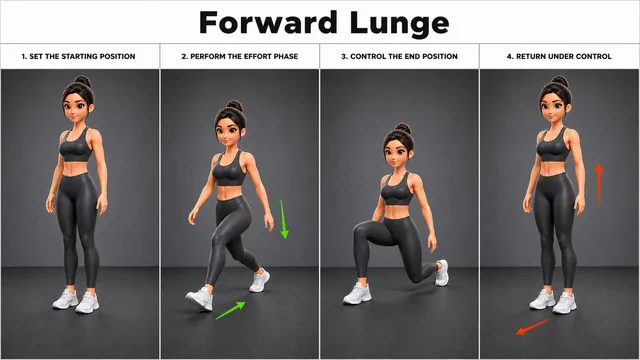 Glutes
Learn how to do Forward Lunge with 4 clear steps, breathing cues, muscles worked, intermediate difficulty, and practical form tips.
Works Glute maximus and Vastus medialis
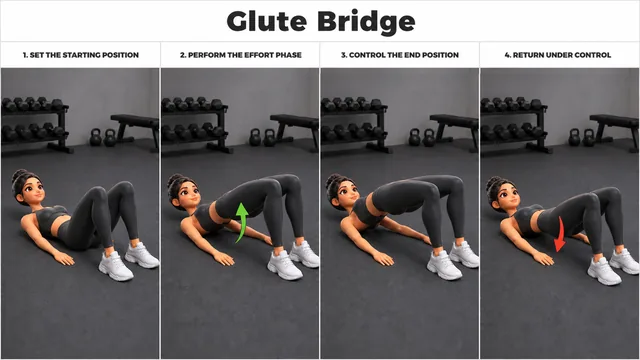 Glutes
Learn how to do Glute Bridge with 4 clear steps, breathing cues, muscles worked, beginner difficulty, and practical form tips.
Works Glute maximus
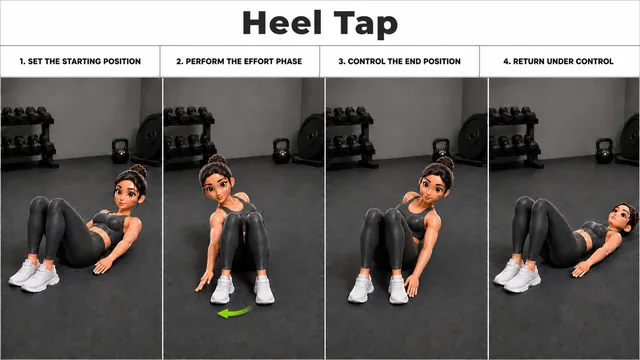 Abs
AbsLearn how to do Heel Tap with 4 clear steps, breathing cues, muscles worked, beginner difficulty, and practical form tips.
Works Obliques
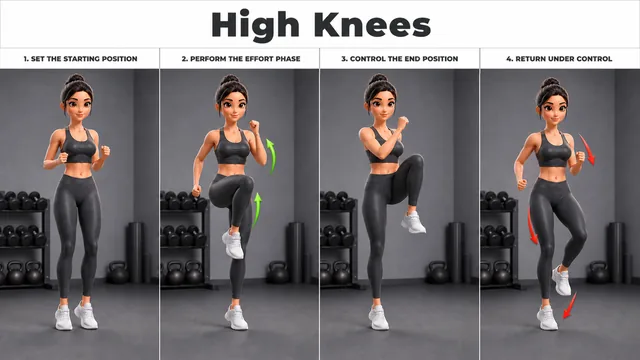 Full Body
Learn how to do High Knees with 4 clear steps, breathing cues, muscles worked, beginner difficulty, and practical form tips.
Works Full body
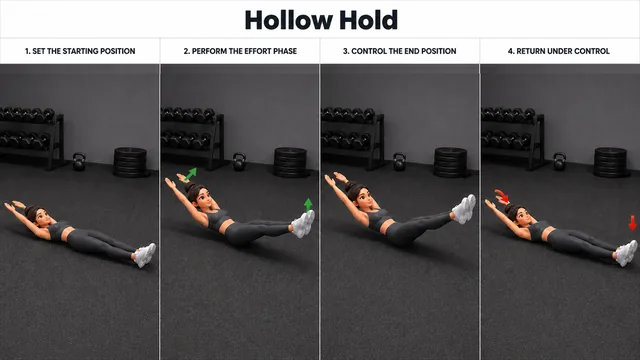 Abs
AbsLearn how to do Hollow Hold with 4 clear steps, breathing cues, muscles worked, beginner difficulty, and practical form tips.
Works Transverse abdominis